Authentication in Exograph with Auth0

On the heels of Clerk integration, we are excited to announce that Exograph now supports Auth0 as an authentication provider! Exograph's JWT support seamlessly works with Auth0 out of the box. Additionally, Exograph's playground integrates Auth0's authentication UI to simplify the exploration of access control rules.
Our code will be the same as in the previous blog. Since both Clerk and Auth0 support OpenID Connect (OIDC), everything can stay the same.
context AuthContext {
  @jwt("sub") id: String
}

@postgres
module TodoDatabase {
  @access(self.userId == AuthContext.id)
  type Todo {
    @pk id: Int = autoIncrement()
    title: String
    completed: Boolean
    userId: String = AuthContext.id
  }
}
This is all the code you need for a multi-user todo app! With the rule specified in the @access annotation, each user can only query or mutate their todos.
Exograph's @jwt annotation works with any compliant OIDC provider, so you may use it with any other provider. However, the playground integration is currently only available with Clerk and Auth0.
To try it out, create an Auth0 project following their instructions. Pay particular attention to configuring "Allowed Callback URLs" (for this blog, you may set it to http://localhost:9876/playground, http://localhost:3000).
Then you can start the server using exo yolo with the EXO_OIDC_URL environment variable set to your Auth0 URL:
EXO_OIDC_URL=https://<your-auth0-host>.auth0.com exo yolo
This will start the server with Auth0 as the authentication provider.
Auth0 integration with Exograph Playground
A typical workflow for building an app uses the GraphQL API in the playground to try out queries and mutations needed for the frontend and copy those into the frontend code. However, in the presence of authentication, grabbing a JWT token (typically from a partially built UI) and passing it in the Authorization header can be cumbersome. Exograph Playground makes it easy to try out APIs that require authentication by integrating Auth0's UI in the playground.
Try it out. For example, you can execute the following query to get all todos:
query {
  todos {
    id
    title
    completed
  }
}
If you do so without logging in, you will get an error:
{
  "errors": [
    {
      "message": "Not authorized"
    }
  ]
}
You can log in by clicking the "Authenticate" button in the playground. This will open Auth0's login page in the playground. You can log in using any configured provider (such as Google or Facebook). Once logged in, you can try the query again, and you will see the todos.
Similarly, you can execute mutations. For example, the following mutation will create a new todo:
mutation {
  createTodo(data: { title: "Buy milk", completed: false }) {
    id
  }
}
Due to access control rules, you can create a todo only for the logged-in user.
Lastly, try out the query above by logging in as another user. You will see that the todos created by the first user are not visible to the second user.
Using the frontend
With the confidence that the API works as expected, building a frontend using the same queries and mutations is easy. The accompanying source code is a Next.js app that allows creating todos, marking them as completed, and updating or deleting them.
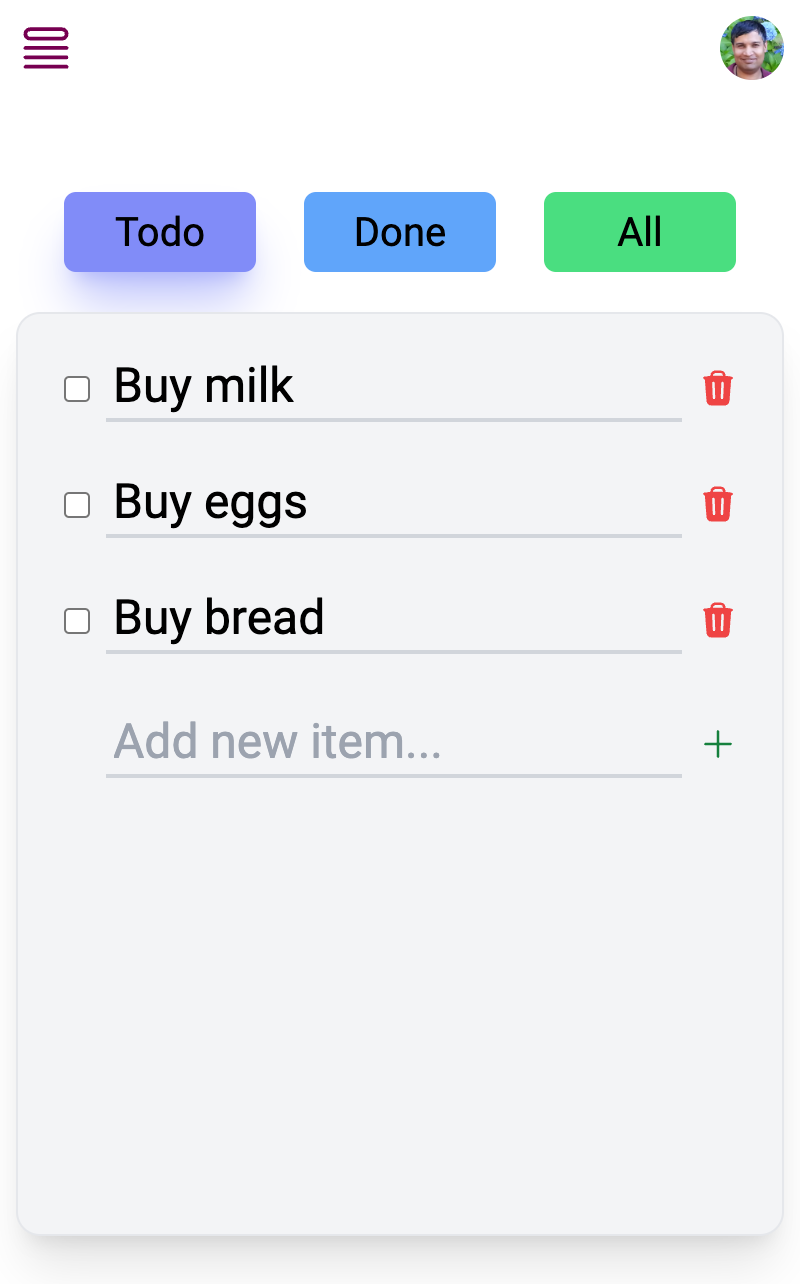

Clone the examples repository and try it out!
Summary
Combining the declarative backend of Exograph with the authentication of Auth0 is a simple matter of setting the EXO_OIDC_URL environment variable. The playground support makes it a breeze to try out various authentication scenarios to ensure that users access only the data they are supposed to.
We would love to hear your feedback on this integration on our Discord.